Language Settings
Before entering the data in the various fields, please review the Field Validation section that is associated with the last sheet.
The addition, editing, and deletion of languages are exclusive to the Platform Admin.
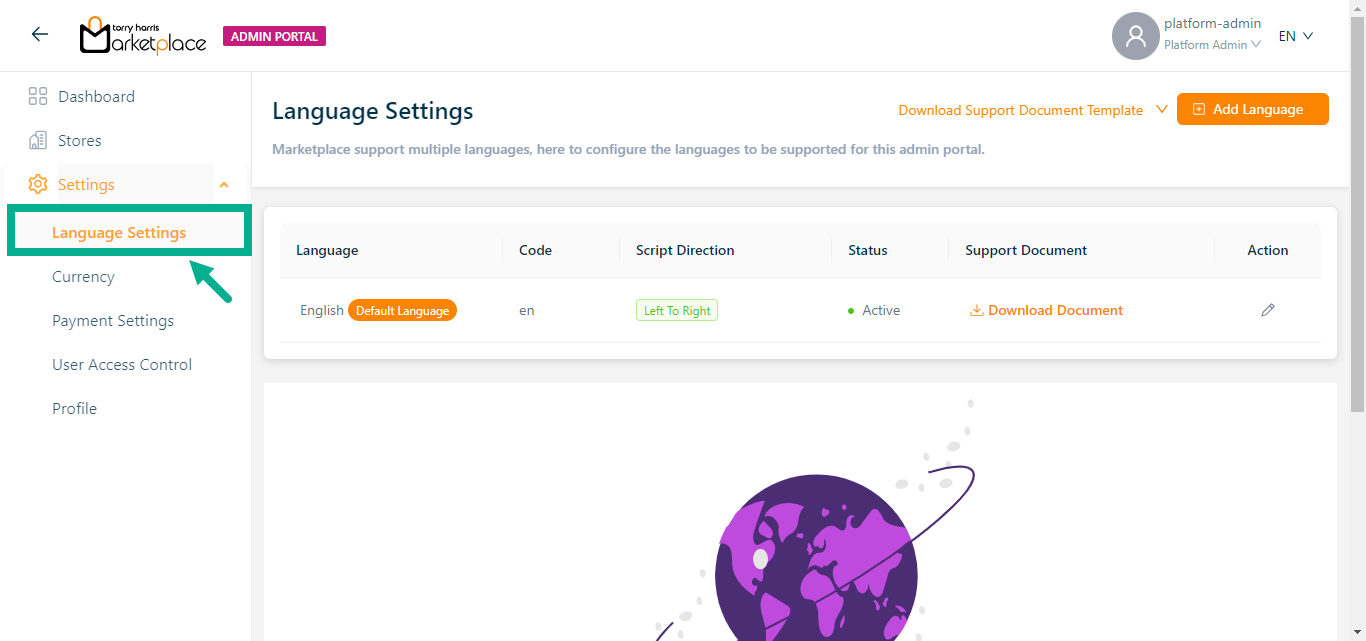
English is the only language that is initially available and set as the default. The user can create a language that is convenient for them and make it the default language if necessary.
Adding a Language
The Multilingual dropdown is enabled only if the Platform admin has created and activated two or more languages in the admin portal.
- Click Add Language.
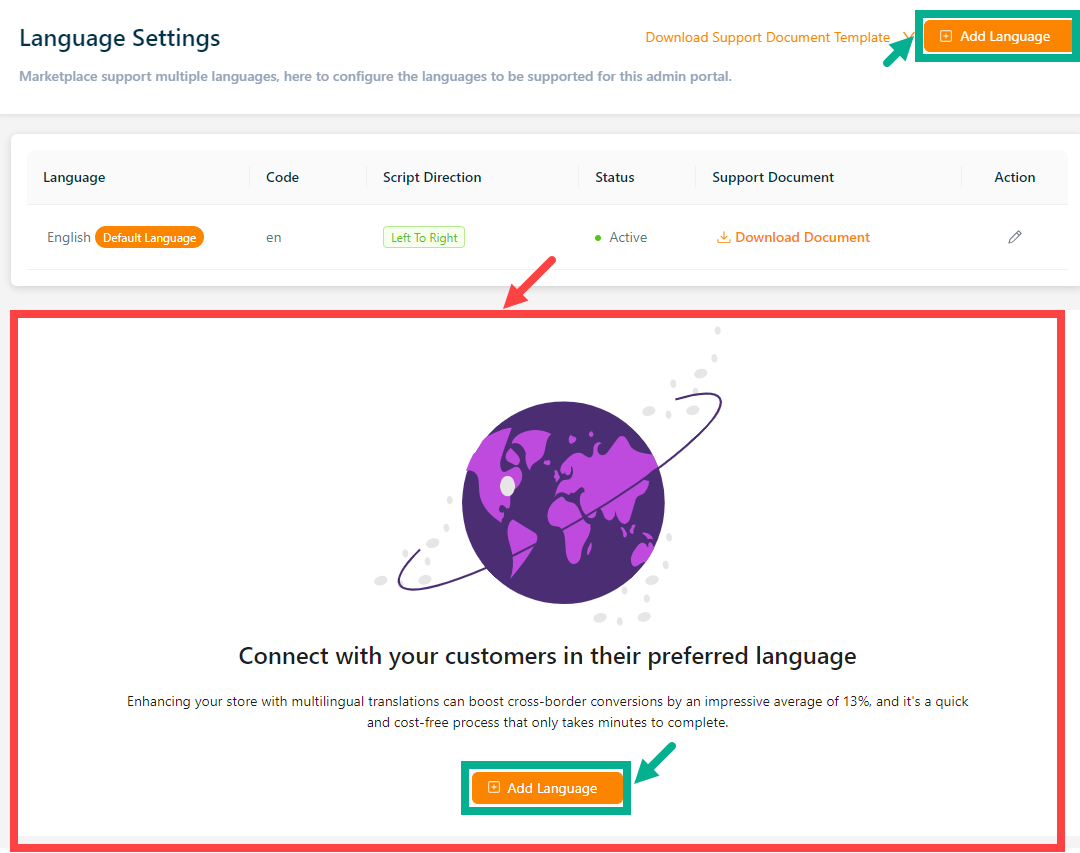
Once the user creates a new language, the section that is shown in the red box will be removed.
The Add Language screen appears as shown below.
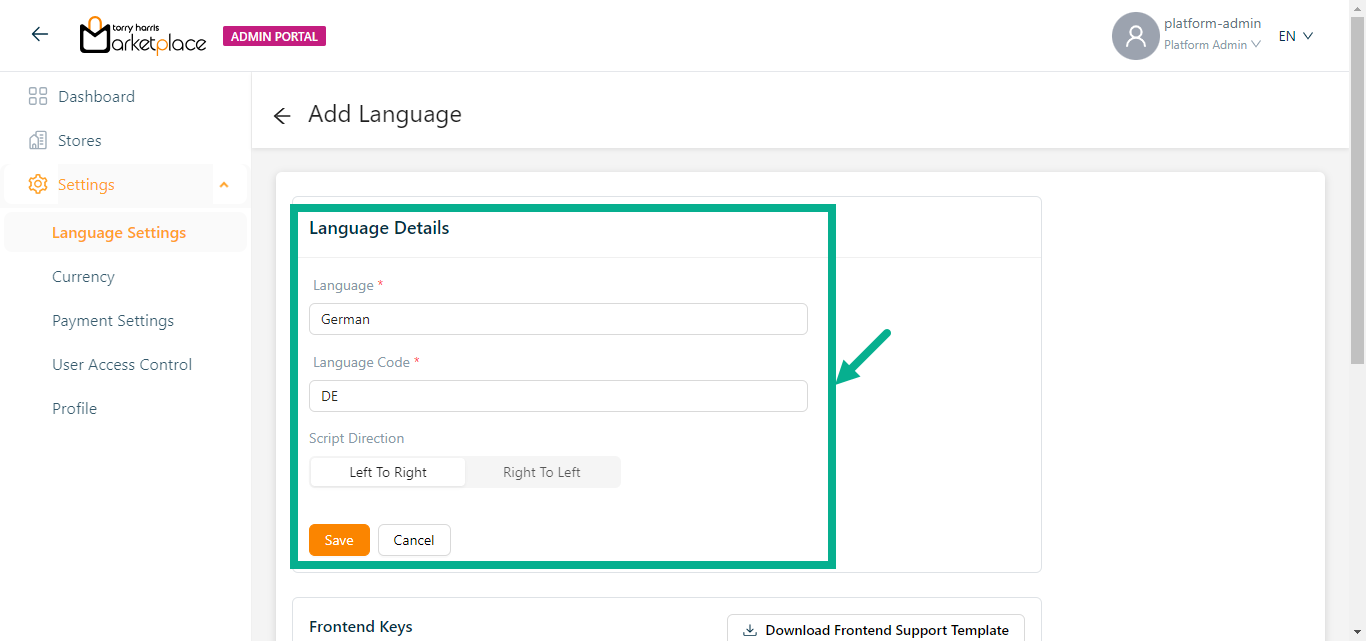
Enter the Language and Language Code.
Select the Script Direction as either Left to Right or Right to Left.
Click Save.
On saving, the confirmation message appears as shown below.

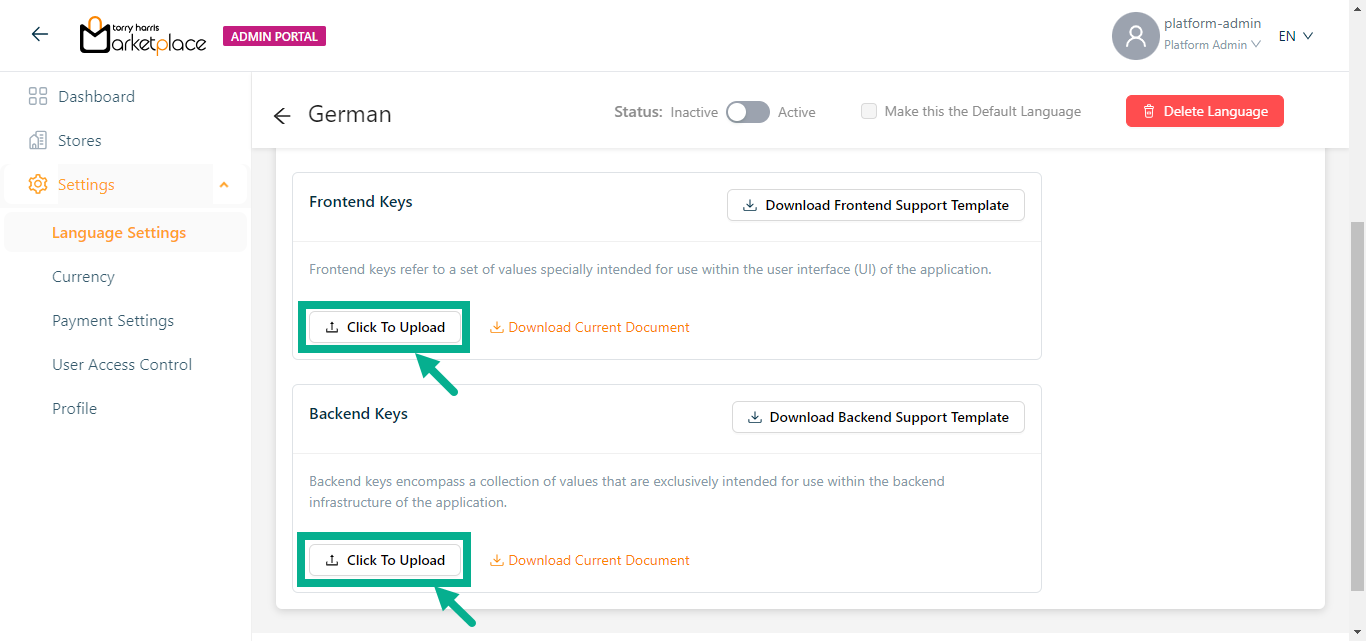
- Click Download Frontend Support Template button and Download Backend Support Template button to download the support template documents respectively.
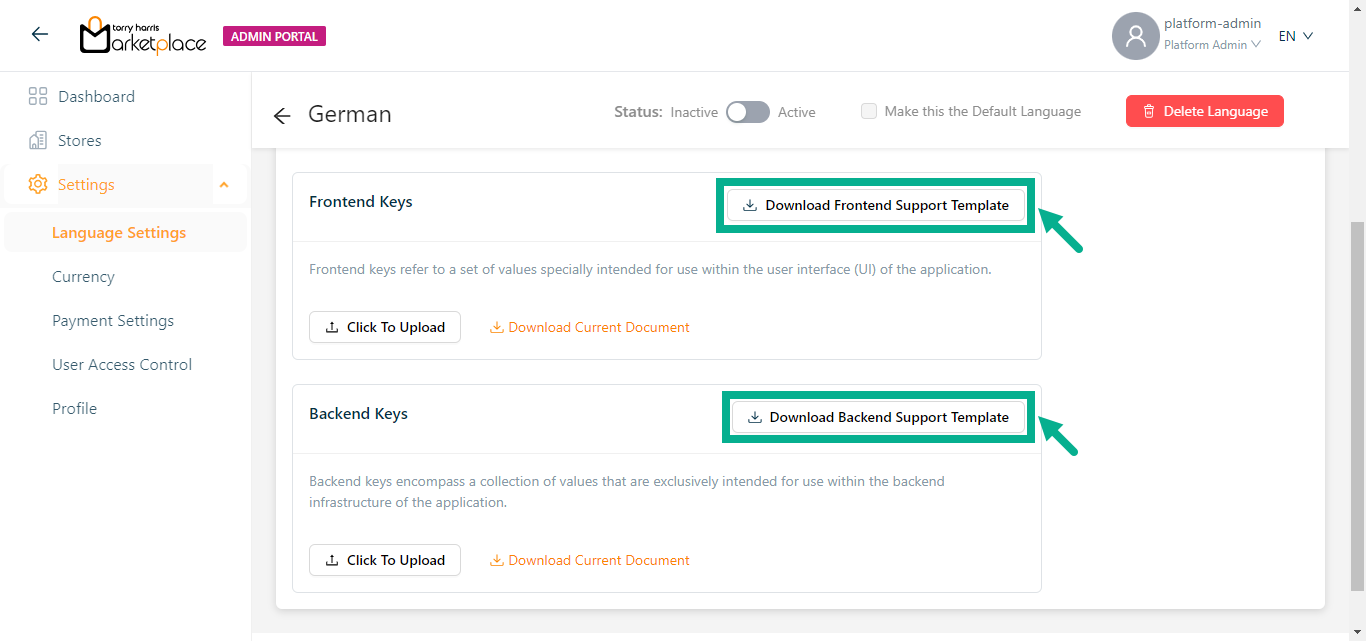
Click Download The Current Document to download the current/existing frontend and backend support templates respectively.
On downloading, the confirmation message appears as shown below.

By default, the Frontend Support Template (frontend_keys_document) and Backend Support Template (backend_keys_document) is located in the download folder.
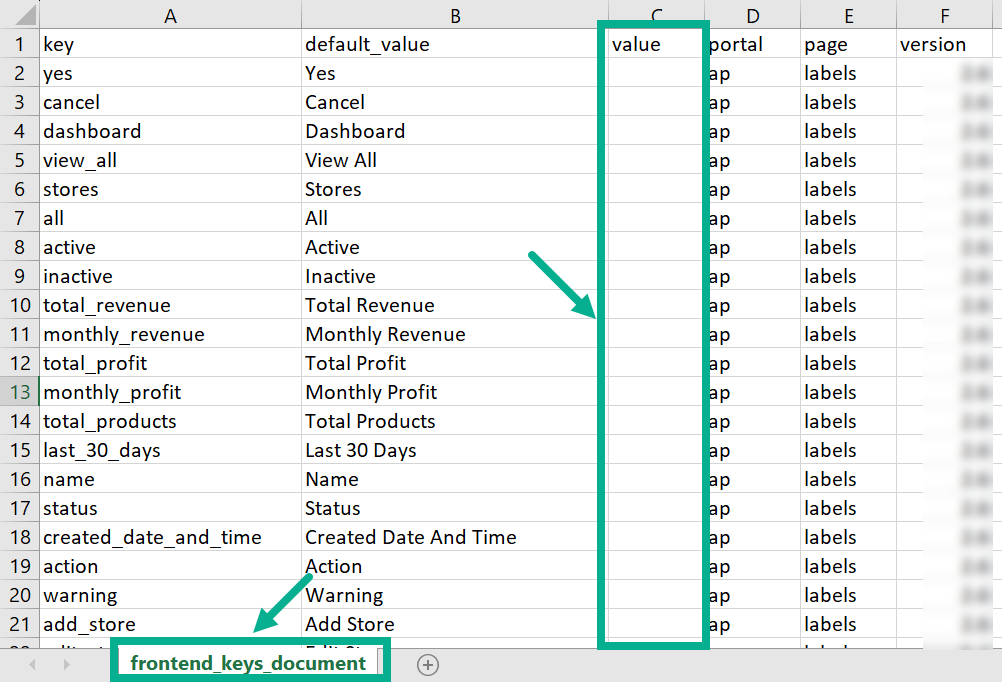
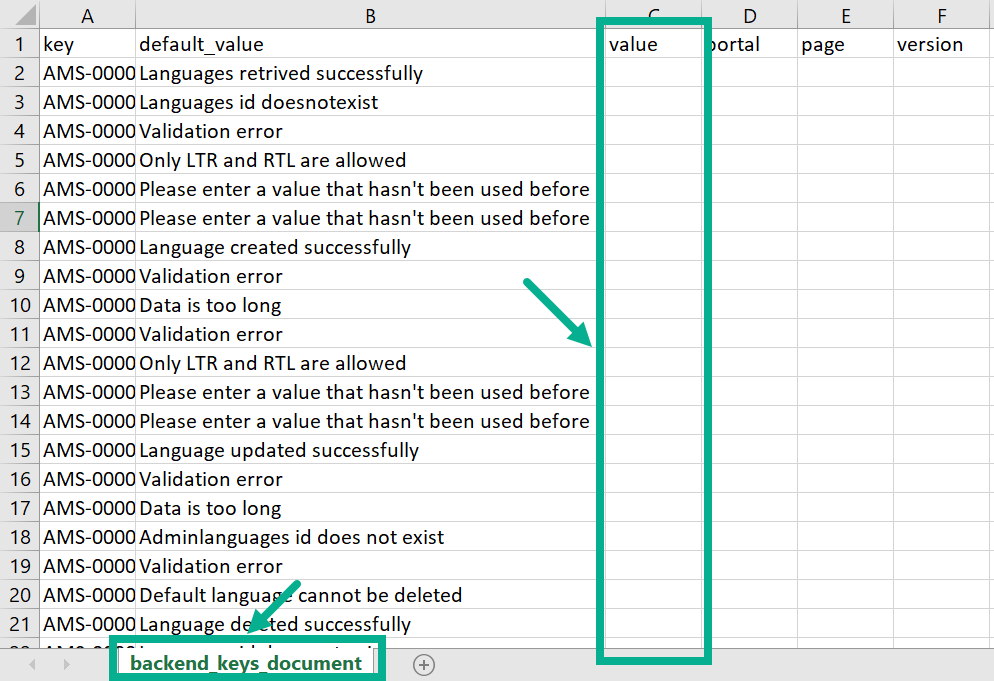
- Add the Value in the Frontend Support Template (frontend_keys_document) and Backend Support Template (backend_keys_document).
Before uploading, make sure that the Frontend Support Template (frontend_keys_document) and Backend Support Template (backend_keys_document) are in UTF-8 CSV format and contain all translated values.
- After adding the value Click To Upload the Frontend Support Template and Backend Support Template.
On uploading, the confirmation message appears as shown below.
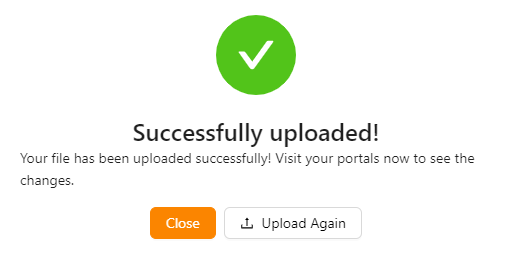
Click Upload Again button to upload the template if necessary.
- Click Close.
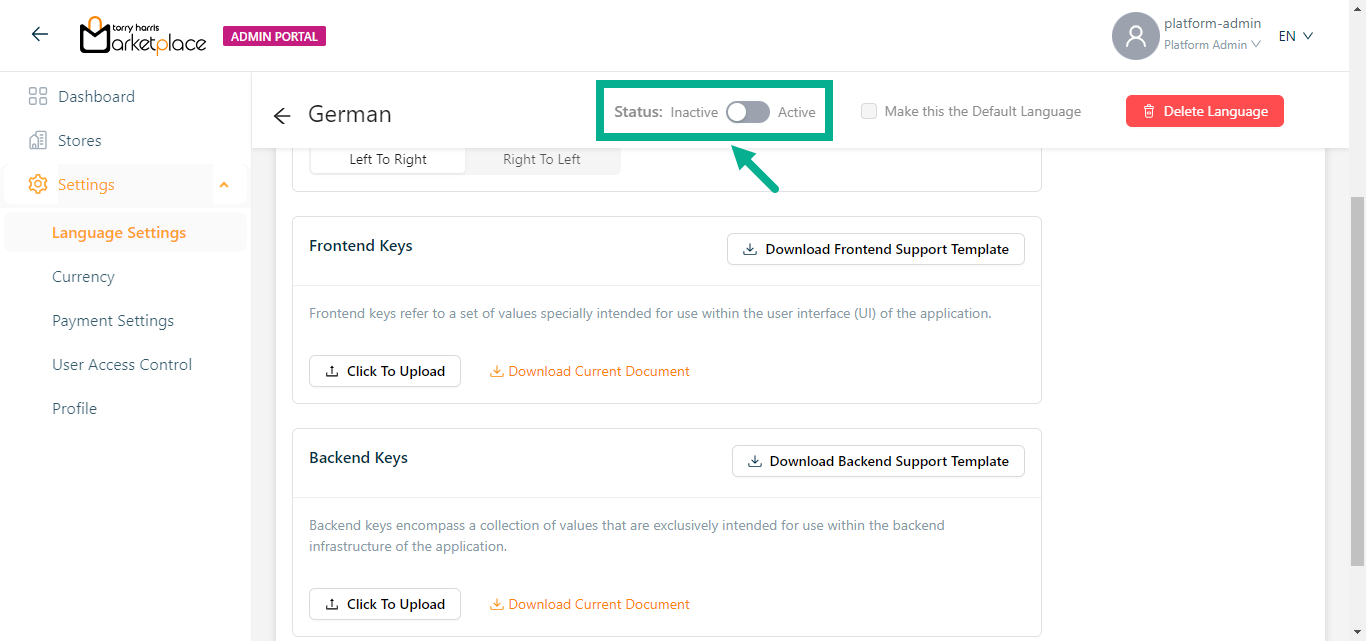
The language can't be activated until the Frontend Support Template and Backend Support Template are uploaded with all the necessary values.
- Enable the Status toggle.
On activating, the confirmation message appears as shown below.
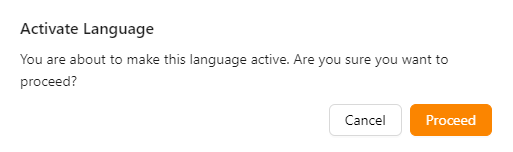
- Click Yes.
The confirmation message appears as shown below.

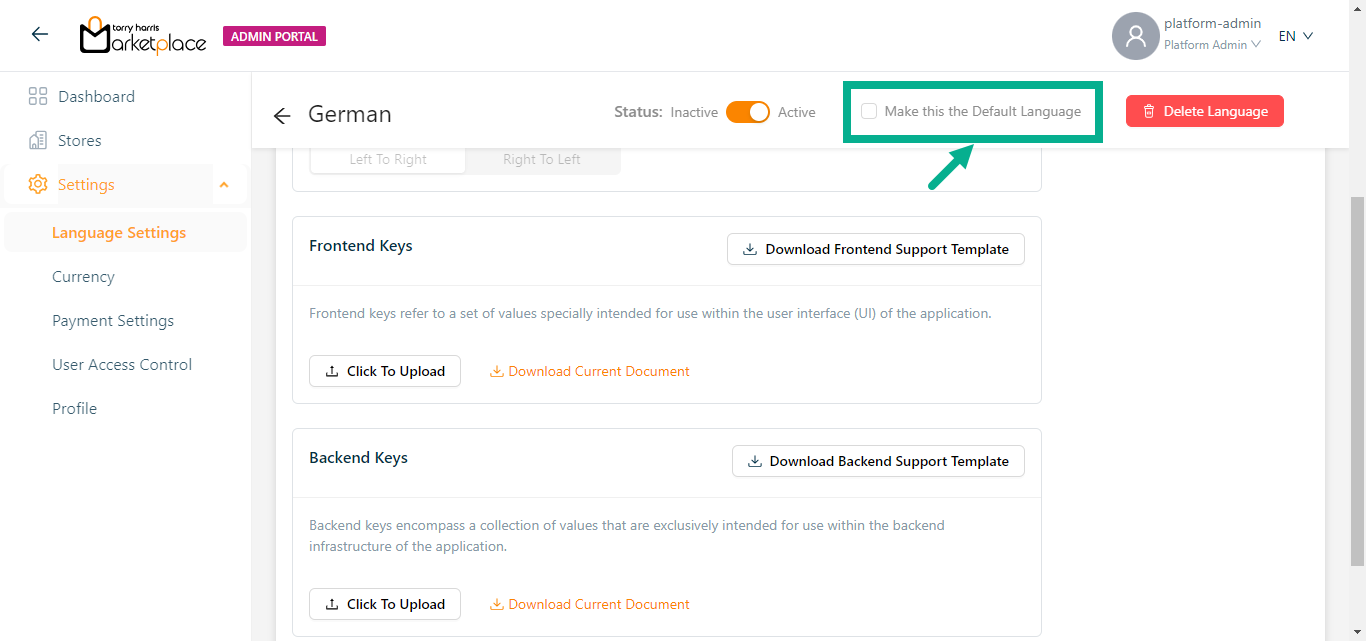
You can set a language as the default only if it is in active state.
- Enable the Make this Default Language checkbox to make the language as the default language.
On making default, the confirmation message appears as shown below.
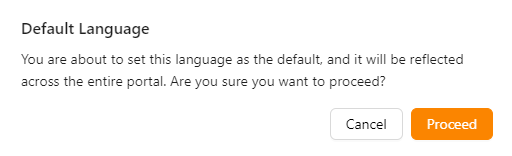
- Click Yes.
The confirmation message appears as shown below.

Updating a Language
The platform admin can update the languages that are in inactive status.
- Click the Edit Language icon.

The respective language appears as shown below.
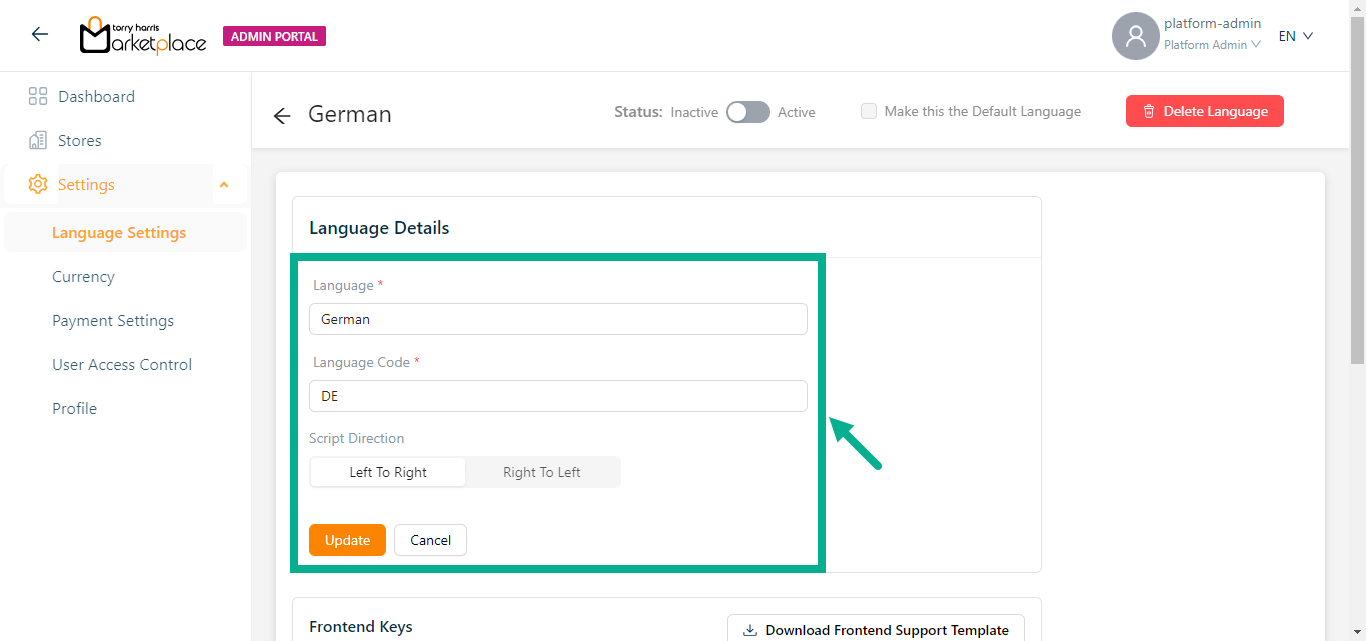
Update the Language and Language Code.
Update the Script Direction as either Left To Right or Right To Left.
Selected Script Direction will be applied across the portal.
- Click Update.
On updating, the confirmation message appears as shown below.

Delete a Language
Default language cannot be deleted.
- Click the Edit Language icon.
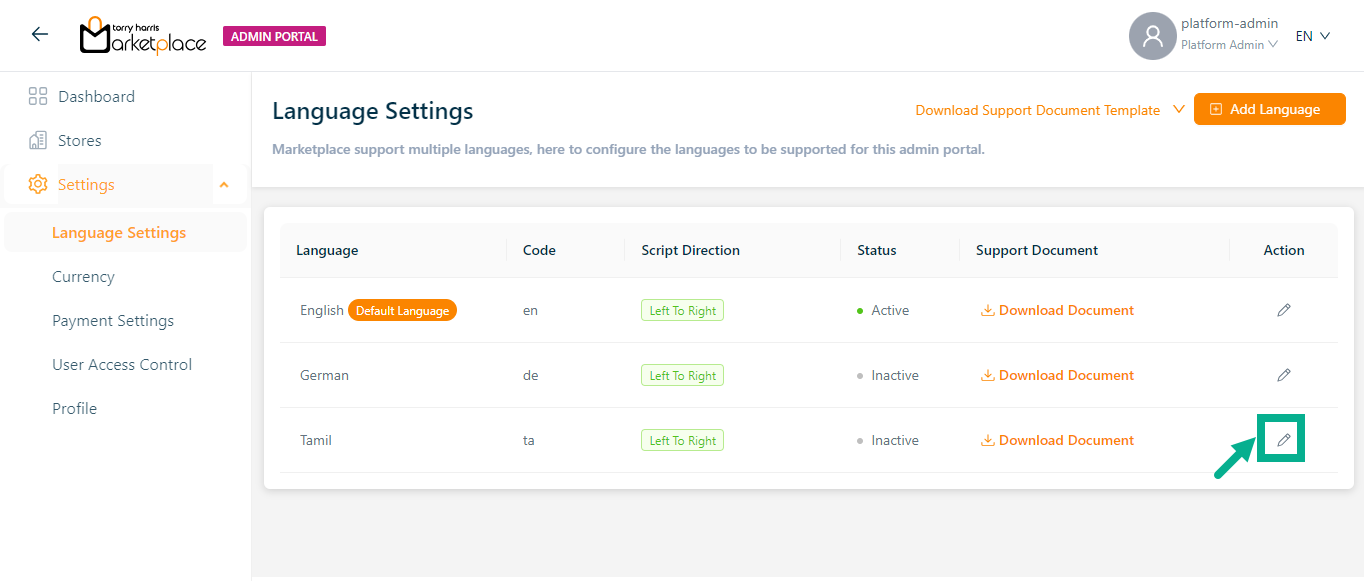
The respective language appears as shown below.
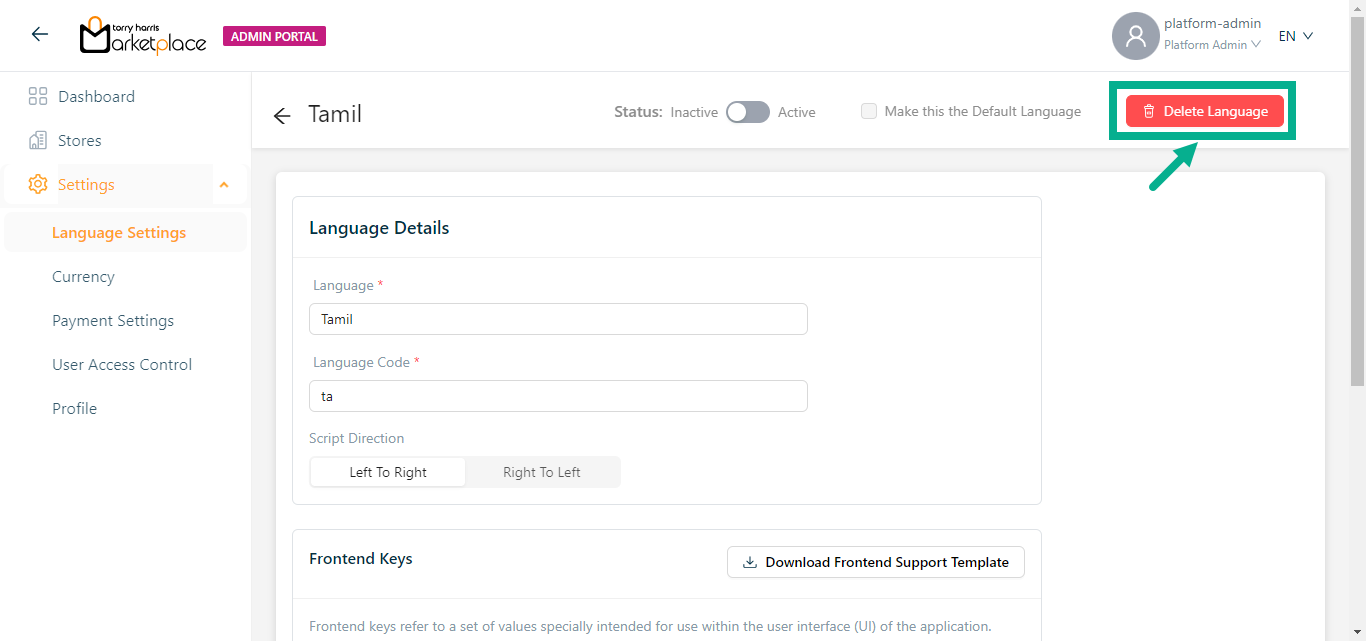
- Click the Delete Language.
The dialogue box appears as shown below.
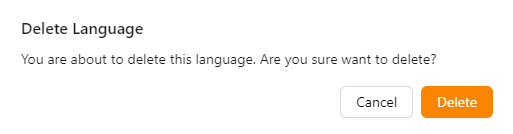
- Click Yes.
On deleting, the confirmation message appears as shown below.

- Click Close.